Content
Invitation via the user management
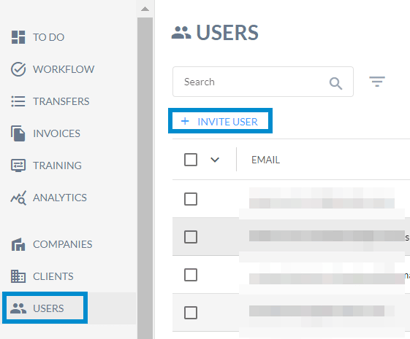
To invite users via the user administration, select "Users" in the main menu. Now click on "Invite user".
Invitation via the client-screen
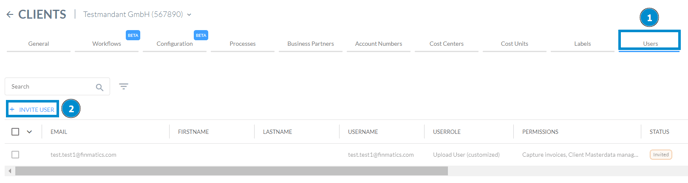
Select the "Clients" screen in the main menu and then select the desired client in the overview.

Now click on the "Users" tab in the client view and on "Invite user".
Enter user data and send invitation
As soon as you have clicked on "Invite user", a new page opens on which you can first enter the data of the new user. Fields marked with an asterisk are mandatory.
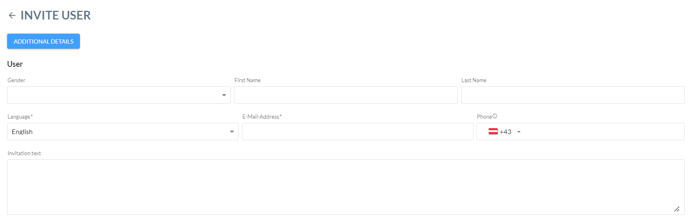
Here, you also have the possibility to write a personalized invitation text.
Furthermore, you can assign a user role and additional permissions for the new user(s).
The last step is to assign at least one company or client to the new user (the permission level). If you invite the new user via the client management, this client is already assigned. However, it is also possible to assign multiple companies or clients.
For more information on user roles, user permissions, and permission levels, see our Help Center article How are users managed?.
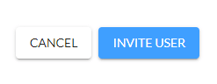
To complete the invitation, click on "Invite user" at the bottom right. An email with an invitation link will now be sent to the specified address.
Please note that the invitation link is only valid for 21 days and expires afterwards. However, you can send it again if necessary.
Check status and resend invitation link
As soon as a user has been invited, he/she appears in the user administration. Here you can also check the status:
- Invite accepted: The invitation link has already been clicked and the user is already activated
- Invited: An invitation has been sent, but has not yet been accepted
- Deactivated: The user has been deactivated and no longer has access to the assigned functions
By clicking on the status symbol in the table view, an invitation that has already been sent to inactive users can be cancelled, whereby the link contained in the e-mail becomes invalid.
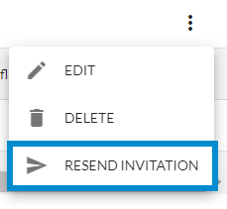
The invitation can also be resent here, for example if the recipient can no longer find the e-mail or if the link has lost its validity. To do this, click on the three dots in the table view and on "Resend invitation".
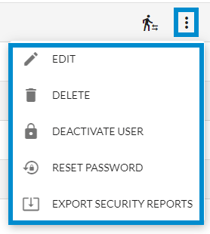
You can also call up the editing menu, delete or deactivate users, reset the password or request a security report by e-mail.
Accept invitation and activate user
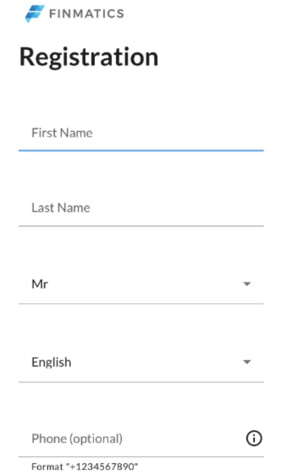
By clicking the invitation link in the email you will be taken to the user registration where you can check and adjust the personal data.
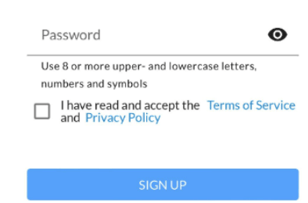
To complete the registration, a secure password must be assigned. This must consist of at least 8 characters and contain upper and lower case letters, numbers and special characters.