Content
If you need an overview of the app's menu beforehand, you will find information in the following article:
Depending on permissions and settings, the Finmatics Mobile App provides the following functions:
Uploading invoices
Scan invoices
Invoices and other expenses can easily be scanned and uploaded using your smartphone at any time.
Through the Genius Scan Integration (GSI), you have the capability to automatically capture invoices. The GSI trims and aligns the image. Furthermore, you can apply a filter to the image if desired. You can also manually adjust the cropping, rotation, and smooth out the edges of the image. Using the "Retry" option allows you to discard the image and take a new photo. Click on"Done" to confirm the photo.
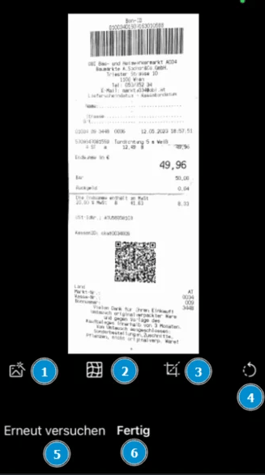
1 - Select Filter, 2- Smooth out, 3 - Manually Crop, 4 - Rotate Image, 5 - Discard and Capture New Image, 6 - Confirm the edits
If a QR code is printed on the invoice, it can be captured and read out in the next step. For more information see How can QR codes be captured with the Finmatics Mobile App? (QR Code Scan).
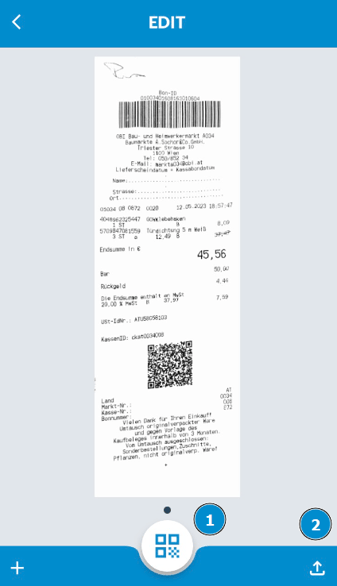
1 - Scan QR code, 2 - Upload image
If you do not upload the image and click on "Back" in the top left corner, the image will be deleted, and you will need to take a new photo.
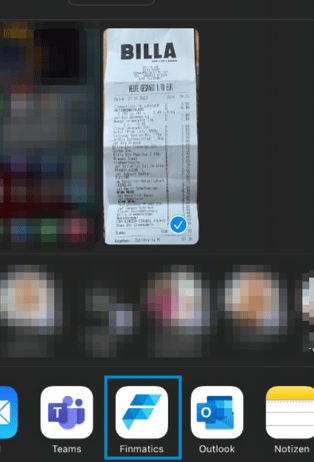
Transfer invoices to the app using the share function
To do this, open the photo or PDF of the invoice on your mobile device, e.g. in your e-mail programme, and click on the share icon. Now select the Finmatics app. If you are not logged in to the Finmatics app, the login screen will open, allowing you to log in at this step. Now share the invoice and, if there are several clients, select the desired one and specify the process.
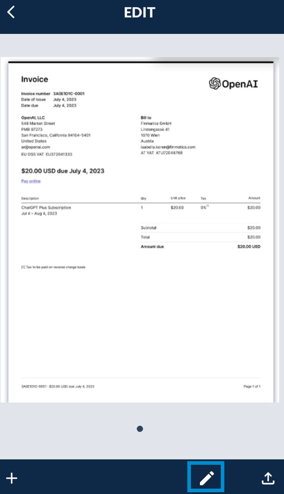
Edit individual fields during upload
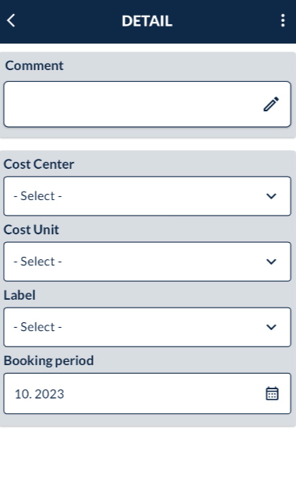
Depending on the settings, you can also fill in fields such as note, comment, cost category, booking period, header text, item label and reason. To fill in the the fields, click on the pencil symbol. Afterwards the invoice can then be uploaded by clicking on the symbol at the bottom right.
All uploaded invoices can be viewed and their booking periods can be modified with the appropriate settings.
The dashboard provides you with an overview of all invoice types within the selected time frame. To access more information, select a invoice type.
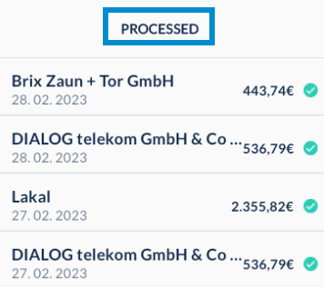
In the app, invoices are sorted based on the invoice date once they have been processed.
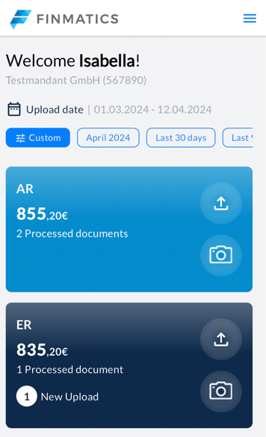
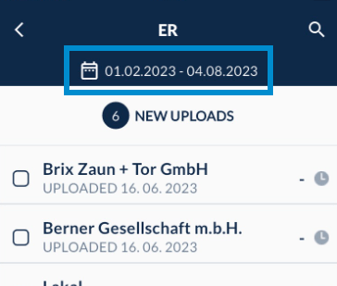
Recently uploaded, unprocessed invoices can be found under New Uploads.

Under the Processed section, invoices are displayed once they leave the "Capture" status and only need confirmation and export. For more details, refer to the article What do the different transfer statuses mean?.
Click on the date display to customize the time period of the invoice list screen.
Searching and finding invoices
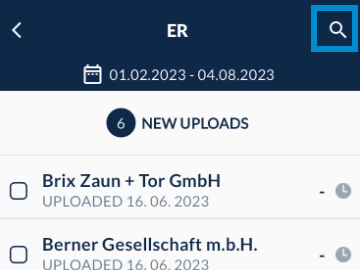
Each invoice type offers a search function accessible via the magnifying glass icon at the top right. After entering at least three characters, results will appear. You can search by all captured data such as customer name, invoice number, and invoice date. The full-text search is based on captured data (OCR). The results are subject to invoice quality.
Detail view and editing options of invoices
You can access the detail view by tapping on an invoice. It will display the invoice image and associated data. In the box, supplier and customer names, net amount, tax amount, and gross amount are shown. The invoice image is located below. To view the next page, swipe left on the image until you reach the last page. Swipe right to go back. The dots beneath the image indicate the number of pages. You can zoom in the invoice image by tapping the image with two fingers and pulling them apart.
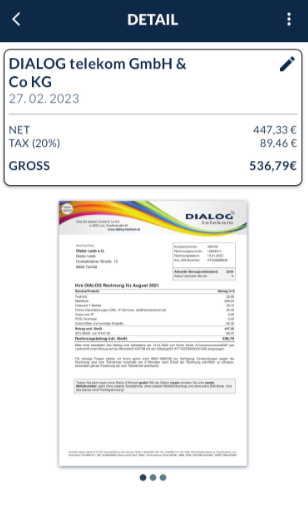
Additionally, at the top right, you'll find a pencil icon through which you can access and edit the above mentioned invoice fields.
Approving invoices within a workflow
In general, the user permission "Approve Invoices" gives you access to the workflow screen. If approving workflows are set up, they will be displayed in the app and can be edited. Additionally, it's possible to approve multiple invoices at once. This allows quicker processing of larger quantities of invoices within the Finmatics App. For more information, refer to our Help Center article on Document Release.
As soon as a workflow has been configured, it is displayed on the start page. In the individual widgets, you can see the heading, the total amount and the number of invoices contained. The colors of the widgets are preset.

Edit invoices in a workflow
Click on the respective widget to edit the invoices.
Swipe to the left in the booking line to forward or approve the invoice by email.

Swipe to the right in the booking line to reject or pause an invoice.

If you want to reject an invoice, a pop-up window opens in which you must enter a note with the reason for the rejection. If you want to reject more than one invoice at the same time, this note will be applied to all selected invoices.

You can use the pause function to set a date until which the processing of this invoice is stopped. Paused invoices are labelled with an icon in the invoice overview screen.

You will also find an action bar at the bottom of the detailed view of the invoice, which can be used to approve or reject invoices, among other things. You can also use the three-dot menu at the top right to share the invoice or view the processing history.
Invoices with mandatory fields can only be released in the detail view.