- Prerequisites
- How do I get the Finmatics Mobile App?
- How do I log in?
- How does the app menu work?
- What does the Dashboard show?
- What features does the Finmatics Mobile App offer?
Prerequisites
The prerequisite for using the Finmatics Mobile App is a Finmatics user. With this user you can log in to the Finmatics Mobile App as well as to the web frontend.
How do I get a Finmatics account?
Anyone with the "User management" authorisation can create and manage users. More information can be found in the following articles:
Which permissions are suitable for the mobile app?
- User should only photograph invoices?
"Upload invoices" - User should approve invoices?
"Approve invoices" - User should adapt invoices?
Capture invoices" - User should see invoices archive?
"Manage document archive" and "View documents from other users"?
How do I get the Finmatics Mobile App?
Search for "Finmatics" in your App Store and download the mobile app for free.
Apple: https://apps.apple.com/at/app/finmatics/id1502436715
Android: https://play.google.com/store/apps/details?id=com.abacus.finmatics&hl=en&gl=US
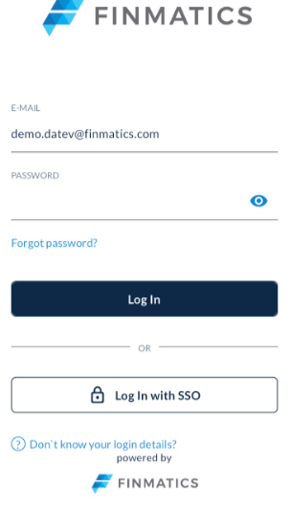
How do I log in?
As soon as you have opened the app, you will find yourself in the login screen. Here you have the option of logging in with your e-mail address and password, configured face ID or fingerprint. Alternatively, you have the option of single sign-on (SSO). You can find more information on setting up SSO and its advantages in What options do I have to keep my access to Finmatics as secure as possible?.
If 2-FA authentication is activated, you will be asked to enter the security code from the Microsoft Authenticator app after entering the login data.
You can also change your password here if you have forgotten it or want to set a new one. To do so, click on 'Reset password'. If you do not yet have any login details or have forgotten them, click on "Don't know your login details?" for further information.
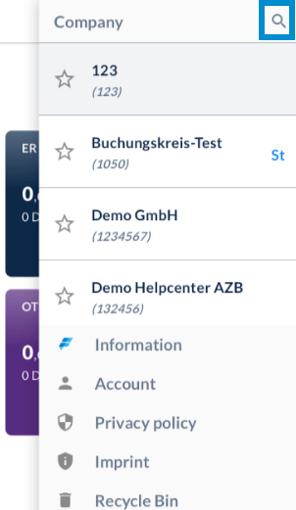
How does the app menu work?
The burger menu at the top right offers the possibility to access additional information, to switch between different clients as well as to make various settings. If you have access to several clients, you can select a client here and it will then be displayed in the dashboard. The list of clients is sorted alphabetical. The dashboard always shows the data of the selected client. The individual menu items and functions are explained below.
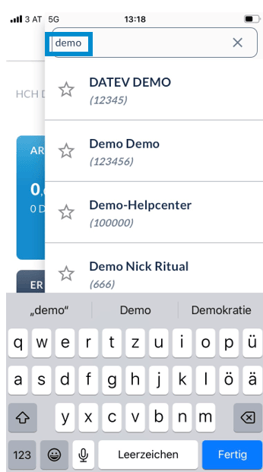
Client search
If you tap on the magnifying glass to the right of the word "Company", you can start the client search. While you are typing the search suggestions are updated, so partial entries are often already enough
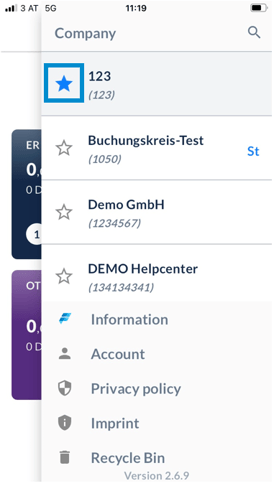
Mark clients as favourites
Finmatics Mobile always shows you the favourites at the top of the list once they have been selected. To do this, tap on the star in front of the name to select a client as a favourite. The star turns blue and the favourite client is moved to the top of the list. You can define up to 10 favourites. To remove a favourite client, tap on the blue star and the selected client moves back to its place.
Information
In Case you have set a link in the branding section, this is the Button which leads to that link. Otherwise it is the link to the Finmatics Youtube channel, where you can find helpful videos.
Account
Here you can view your account information, reset your password, enable fingerprint login, change the language displayed and log out of the app if desired.
Data protection
Here you can find all information about our privacy policy.
Imprint
Here you can find information about the Finmatics GmbH.
Recycle bin
Here you can see when which documents were deleted for the selected client and restore them if necessary.
What does the dashboard show?
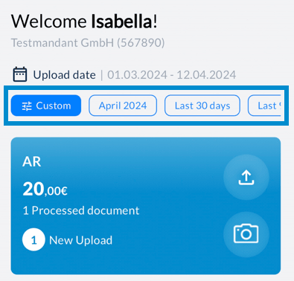
The dashboard shows all relevant information of the currently selected client. Under "Welcome ...!" you will find the current client and the client number. Below that you will find the time period displayed. By clicking on "Custom" you can define the period for which the dashboard is displayed individually or select a suggested period of up to one year.
Processes
The widgets display all processes available for the client. The content displayed depends, among other things, on the authorisations assigned to the user. Documents are typically assigned to incoming and outgoing invoices, cash or workflow topics. The customised heading for each widget is derived from the display name assigned to the process. If no display name has been assigned, the posting symbol is displayed.
The different proocesses are displayed in different colours. If you have personalised colours in the web version of Finmatics, these changes will also be reflected in the app.
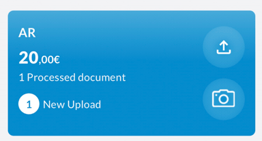
Processed invoices
The total amount and the number of processed invoices are displayed in the respective widgets of the processes, indicating the period in which they were processed. Invoices are considered processed if an invoice date could be read out and invoices are verfied by the Shared Service Center (SSC) or an user with the permissions "Complete invoices" or "Capture invoices".
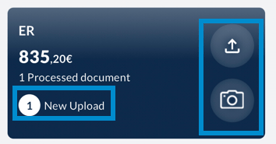
New invoices
The number of invoices that have not yet been processed is displayed under New upload without value. To take a photo of an invoice, click on the camera symbol or upload an existing invoice by clicking on the upload symbol. You can select several photos at once via your gallery or alternatively upload an invoice via "Documents".
What features does the Finmatics Mobile App offer?
For more information on which processing options and invoice views are possible in the app, please see our article How do I scan and process invoices with the Finmatics Mobile App?.