Content
- Screen options
- Add/remove invoice fields
- Preview & Navigation
- Rotate pages
- Print & Download Image
- Open invoice in a new tab
- OCR overlay
- Move invoice
- Cutting & Stapling
- Cannot Verify
- Share
- History
- Delete
- Split invoice
- Confirm and next & Update
- Return button
Screen options
For the invoice detail screen there are the following options to adapt the screen to your way of working. Those can be changed in the account settings. You can find more information about the settings in our article User Menu.
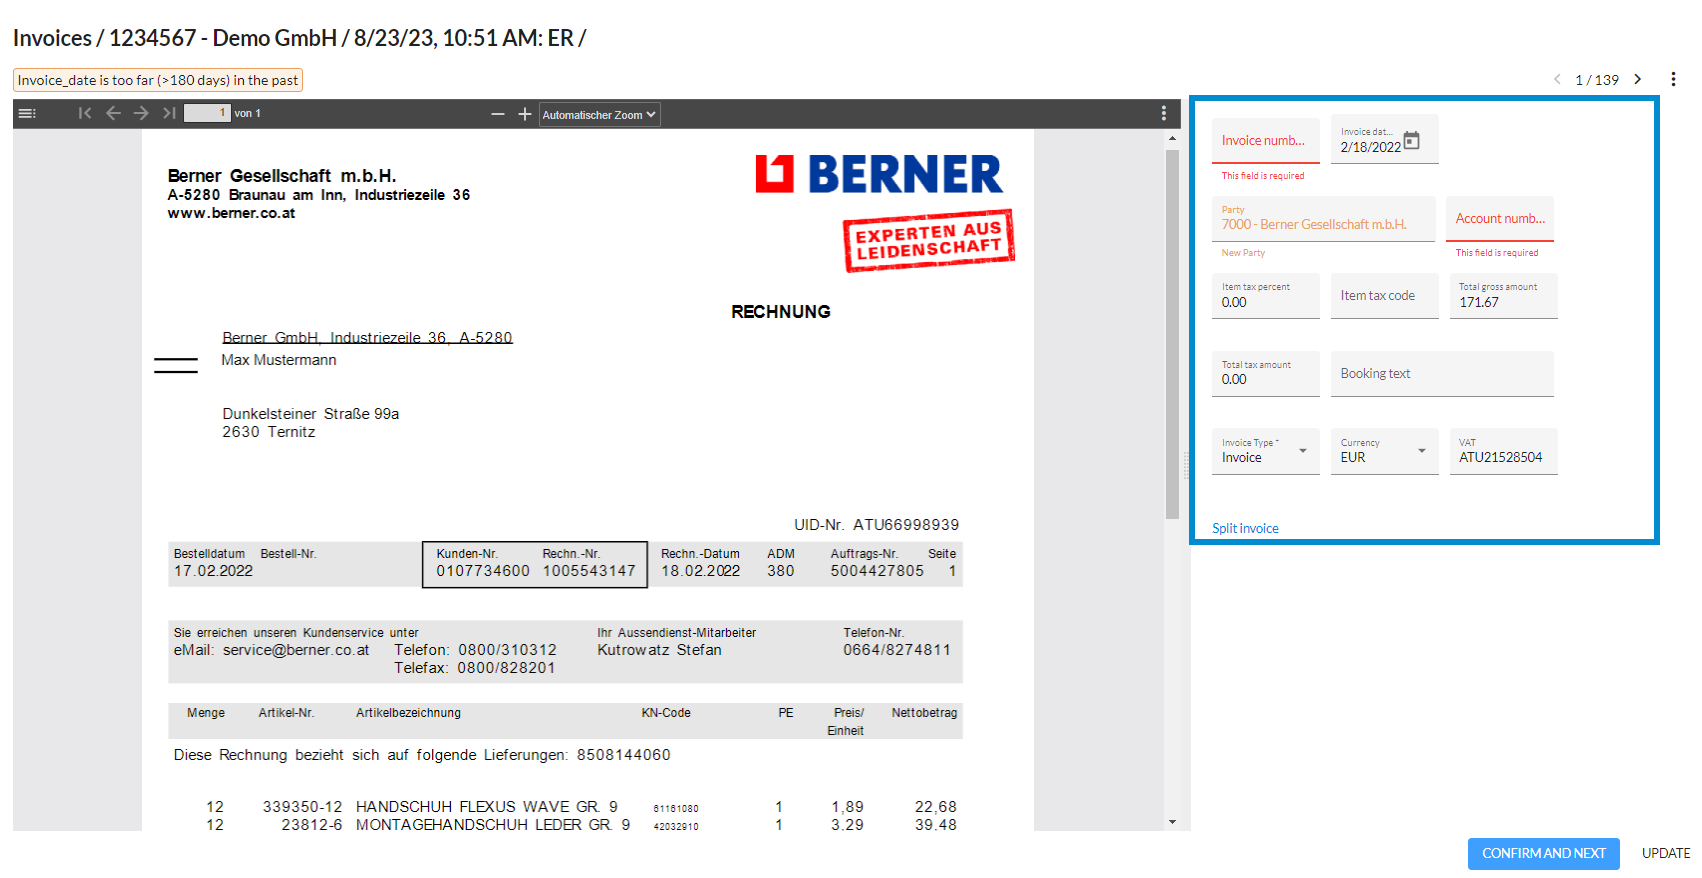
Compact layout
All fields are displayed together.
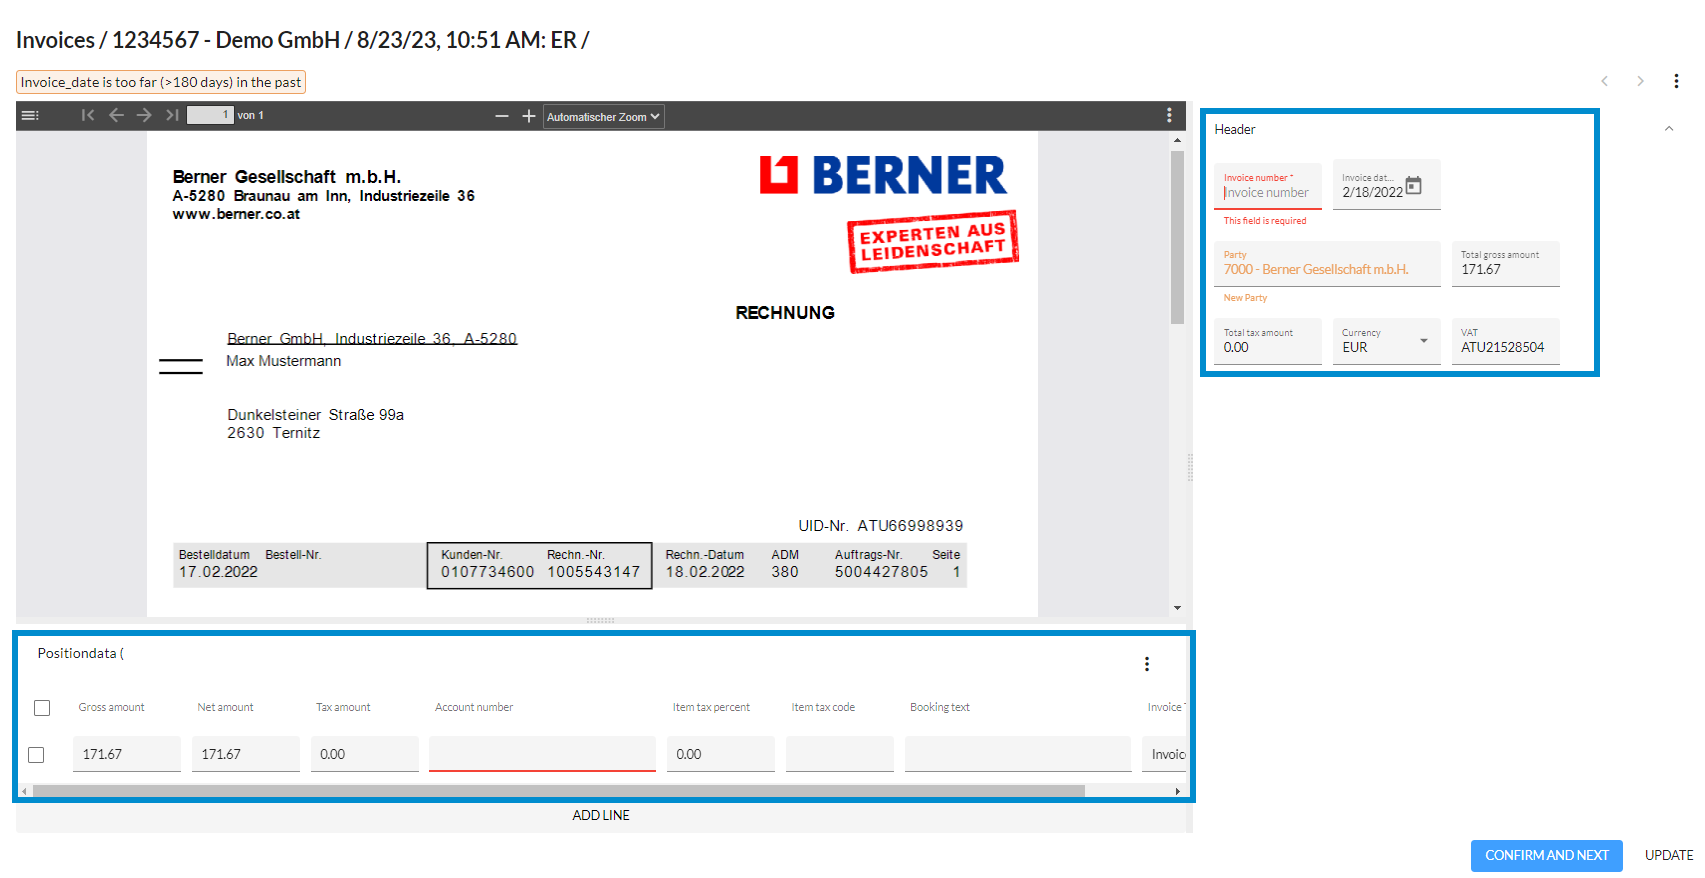
Extended layout
Shows Header fields to the right of the invoice and items below the invoice.
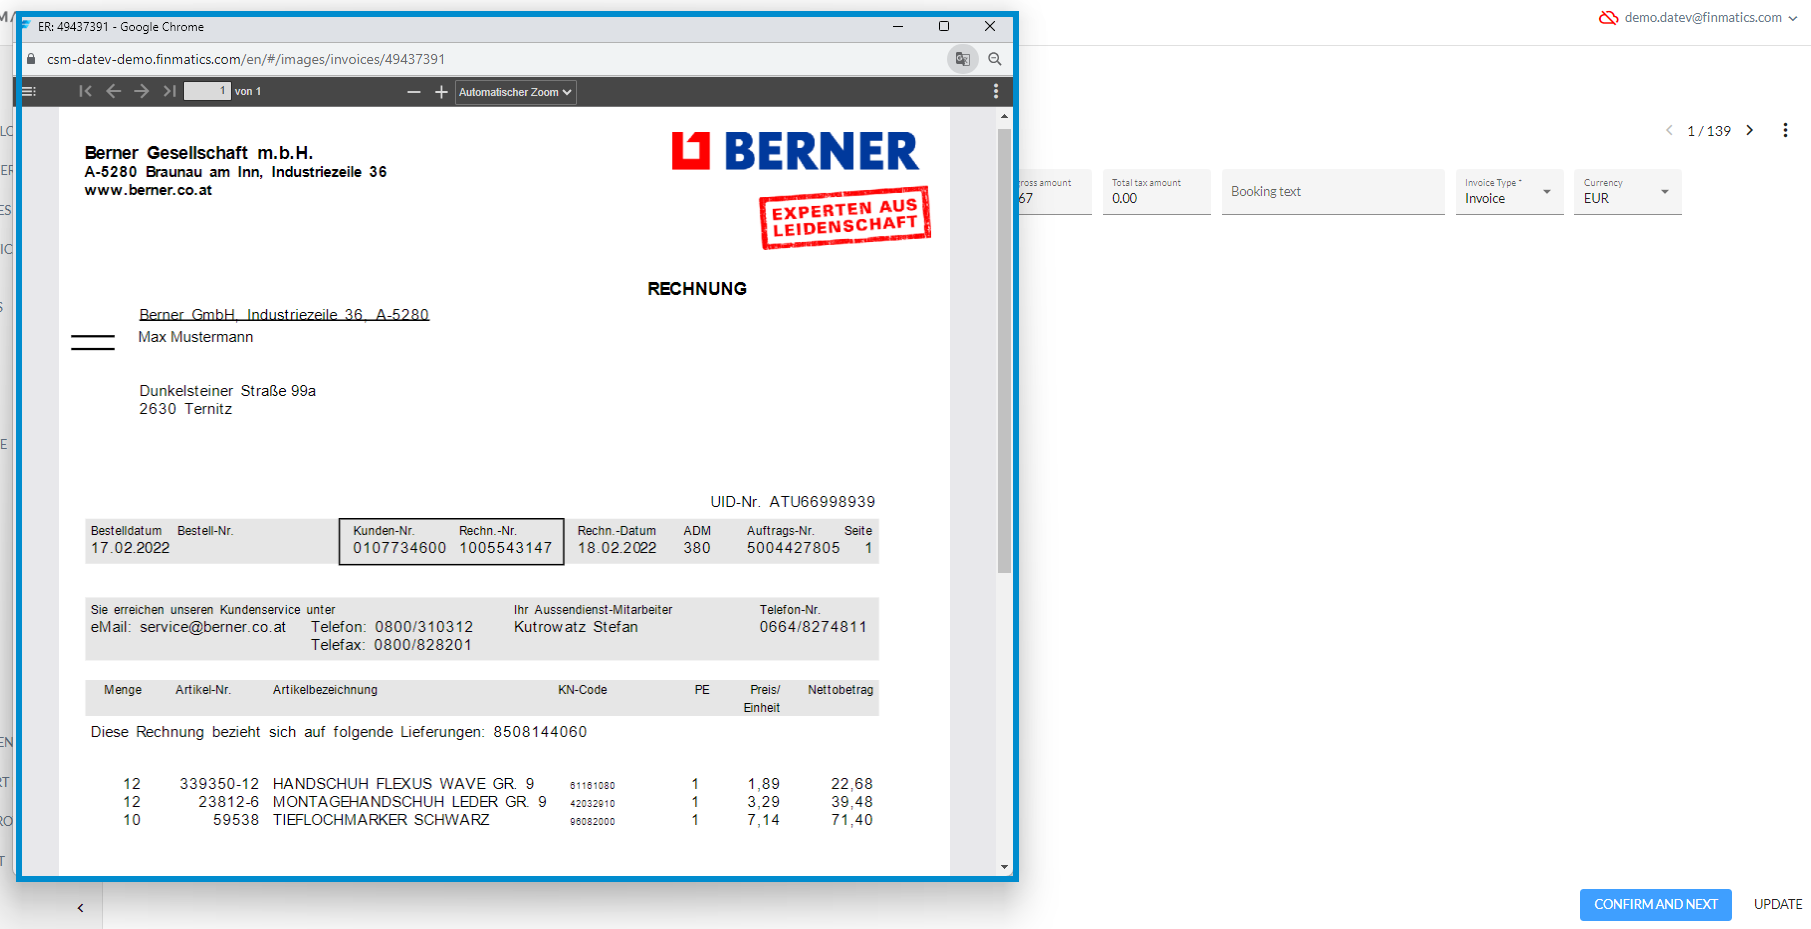
Open invoice images in new window
If you are working with more than one screen, it is useful to display invoice images in a separate window. This can be set either case by case in the invoice detail screen or by default in the account settings.
Add/remove invoice fields
If you miss a field, the available invoice fields can also be adjusted if necessary. Find more information in How can I add or remove fields in the invoice detail screen?.
Create new business partners
You have the option of adding new business partners in the invoice detail screen. You can find further information in How do I manage business partners in Finmatics?.
Preview & Navigation
With a click on the three lines symbol below the black bar you can activate a preview of the invoice. By clicking on the arrow symbols below the black bar you can navigate between the pages of the invoice.

Rotate pages
This function is located on the right-hand side of the grey bar. Open the three-dot menu and select whether the invoice should be rotated anti-clockwise or clockwise.

Print & Download Image
If you would like to print or download an image, you can also do this by selecting it from the three-dot menu.

Open invoice in a new tab
Click on the invoice to open a new browser window. This way, you have the invoice image in one window and the invoice detail screen in the other window.
You can also activate this setting by default in your account in the User Menu.

OCR overlay
The OCR overlay shows you what information Finmatics has recognised on the invoice. Activate the OCR overlay to avoid having to type in or correct the information manually in the invoice detail screen. Click on the field you want to adjust and select the information you want Finmatics to recognise directly on the invoice by holding down the left mouse button.
Larger areas can also be selected, e.g. for the booking text.

Move invoice
This function is located at the top right of the invoice detail screen in the three-point menu. If an invoice was uploaded to the wrong process or assigned to the wrong client, both the client and the process can still be adjusted.
This is only possible if you are working without direct export and the invoice has not yet been confirmed.

Cutting & Stapling
If the invoice was not cut correctly by the software, this function can be used to rework the invoice. "Cutting" takes you to the invoice you are currently working on and "Stapling" takes you to the entire upload process/invoice batch that was transmitted.

Cannot Verify
Click on it to activate a filter and a warning is displayed on the invoice. In the overview invoice screen, you can quickly call up all invoices that have been assigned to this key or filter.

Share
You can send the invoice to your client or colleagues by e-mail if, for example, explanations are needed. You can also copy the invoice link and send it to the relevant person, e.g. by e-mail or by message.

History
Under "History" you get a chronological overview of all changes made to the invoice. Click on the arrow symbol to download the history in .csv format or as a PDF.

Delete
Click on "Delete" to move the invoice to the recycle bin.
You can find more information about the recycle bin in How do I use the trash function in Finmatics?

Split invoice
In the invoice detail screen, split entries can be created manually with a click on this function. Finmatics recognises tax split entries and splits the entries automatically. You can also split the invoice manually as often as you like. In the case of content splits, on the other hand, manual post-processing must be carried out.
Confirm and next & Update
At the bottom right you will find the ‘Confirm and next’ and ‘Update’ functions:
- Update: the changes made are saved and previously displayed errors and warnings disappear. However, this means that the invoice is not yet confirmed and no learning progress is generated
- Confirm and next: Finmatics learns the changes made directly. The invoice may be highlighted in green and is therefore fully processed and confirmed

Return-Button
If you are in the invoice detail screen and want to return to the invoices screen click on the arrow on the left. 