Content
- The clients-screen overview
- How do I administer/maintain clients in Finmatics?
- Client screen - Menu items
The clients-screen overview
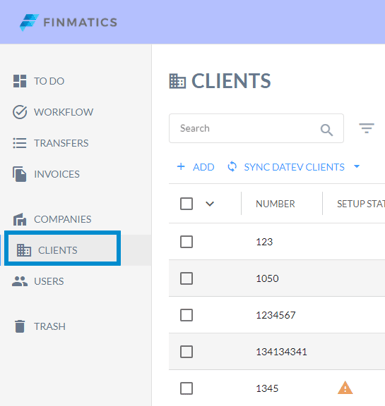
Click on the "Clients" tab on the left to access the clients-screen overview. Here you can search for clients, filter and adapt the table view. For more information, see How can I filter or adapt the screens?.
How do I administer/maintain clients in Finmatics?
New clients are always created directly in your ERP system. The "+ Add" field in the clients-screen overview is only available for test purposes.
Administration of clients with DATEV
To transfer clients from DATEV to Finmatics, you must synchronise them. Before doing so, make sure that you have activated the token to DATEV.
Once the client has been synchronised, you can upload business partners, general ledger accounts and training data. See also the following article:
Administration of clients with BMD
As soon as a new client has been created or changes have been made to existing clients, these are automatically transferred to Finmatics. You can find more information in the linked article:
Administration of clients with RZL
Newly created clients or changes to clients are automatically synchronised with Finmatics. You can find out how to set up this automation in the following article:
Clients-screen - Menu items
General
Here you can, among other information, view the master data of your client and also assign the responsible user for this client. You can find more information in the following Help Centre articles:
Workflows
You can configure your own one step invoice release Workflow here. Below you will find instructions on how to do this:
Configuration
In the Configuration tab you can customise the frontend by yourself and e.g. set configurations for page separation, processing invoices or masterdata creation. You can find further information in the following article:
Processes
In this tab you can adapt your synchronised processes from your ERP system and configure the invoice detail screen.
Business Partners
Here you can view all the business partners assigned to your client and, depending on the ERP system used, create new business partners or edit them. If required, it is also possible to import master data and training data.
Account Numbers
In the "Account Numbers" tab you can see all imported accounts. These are automatically synchronised depending on the ERP system.
Cost Centres and Cost Units
Cost centres and cost units/objects can either be imported here manually via XLSX or have already been synchronised automatically to Finmatics in the course of the setup. Further information can be found below:
Labels
A label can be used to label invoices or invoice items. Configured labels then appear in the invoice detail screen. You can find further information in Which settings can I configure in the clients-screen under "Labels"?.
Users
All users assigned to the client appear here. You have the option of creating new users and imitating them here. You can find instructions in How do I create users? and How can I imitate other users?. If required, you can also resend invitations to users who have not yet been activated. In the table view, you can see when users were last active and edit them using the three-dot menu. You can find more information on managing users and an explanation of the menu in How are users managed?.
Setup Status
Error messages and/or warnings appear in this tab if your clients' data is outstanding or needs to be imported. An explanation of possible warnings or error messages can be found in the following article: